How to Customize a WordPress Theme
Customizing a WordPress theme allows you to personalize the look and feel of your website, making it unique to your brand or personal style. Below is a step-by-step guide on how to customize your WordPress theme using the built-in WordPress tools, as well as custom code.
1. Log into WordPress Admin
To begin customizing your theme, log in to your WordPress admin panel by going to yourwebsite.com/wp-admin and entering your credentials.
2. Access the Theme Customizer
Once logged in, navigate to the theme customizer by following these steps:
- In the left-hand menu, click on Appearance.
- From the dropdown, select Customize.

The WordPress theme customizer will now open, where you can make live changes to your theme and see the results in real-time.
3. Customize Your Theme Settings
Within the theme customizer, you’ll find several options that you can tweak. These may vary depending on your theme but generally include:
- Site Identity: Change your site title, tagline, and upload your logo and site icon (favicon).
- Colors: Adjust the primary and secondary colors for elements like backgrounds, text, and buttons.
- Header & Background Images: Upload and customize header and background images.
- Menus: Set up and arrange your site’s navigation menus.
- Widgets: Manage the widgets in your sidebar, footer, or other widgetized areas.
- Homepage Settings: Choose whether to display a static homepage or your latest blog posts.
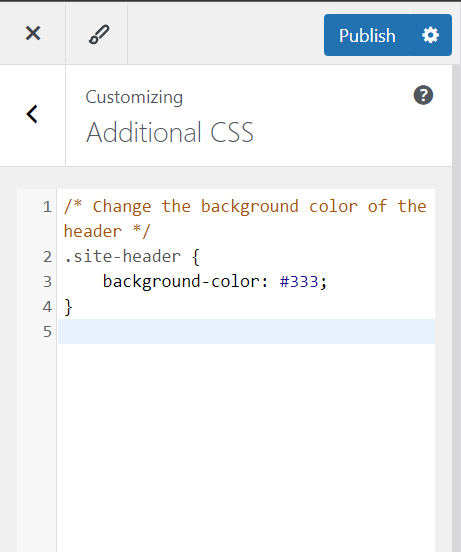
- Additional CSS: Add custom CSS code to further personalize your theme’s style.
After making changes, click Publish to save and apply them to your website.
4. Install & Customize Child Themes
If you want to make deeper customizations without affecting the original theme files, you can create or install a child theme. A child theme inherits the functionality and style of the parent theme but allows you to make modifications safely.
- To create a child theme, you need to add a new folder to your WordPress
wp-content/themesdirectory and create two files:- style.css – where you’ll define your custom styles.
- functions.php – where you’ll enqueue your parent theme’s styles and scripts.
This method ensures that any changes you make will not be lost when the parent theme updates.
5. Use Page Builders
Many WordPress themes are compatible with page builders like Elementor, WPBakery, or Divi. These tools offer drag-and-drop customization, allowing you to build pages with custom layouts, widgets, and features without needing to know any code.
6. Add Custom CSS
If you want to tweak specific parts of your theme’s design, you can add custom CSS. This can be done through the theme customizer by selecting the Additional CSS section. Alternatively, if you’re using a child theme, you can add your CSS in the child theme’s style.css file.
7. Edit Theme Files Directly
If you're comfortable with coding, you can directly edit your theme files. This is useful for more advanced customizations. Navigate to Appearance > Theme File Editor and select the file you want to modify, such as header.php, footer.php, or style.css.
Important: Always back up your website before making any direct changes to theme files, as incorrect changes could break your site.
8. Use Plugins for Additional Customization
There are several WordPress plugins that can help extend theme customization, such as:
- Custom CSS & JS: Allows you to add custom CSS or JavaScript to your theme without modifying theme files.
- Theme Customizer Enhancer: Adds more options to the default theme customizer.
- Header, Footer, and Post Injections: Easily add custom code to your theme’s header and footer without needing to edit files.
9. Save and Preview Your Changes
While customizing your theme, you can preview your changes without publishing them. Use the live preview feature to ensure that everything looks correct before going live. Once you’re satisfied, click Publish to make the changes visible to your site visitors.
10. Test Responsiveness
Make sure to test your theme customizations on various devices (desktop, tablet, mobile) to ensure that your site is responsive and looks great across different screen sizes.


