How to Install Plugins in WordPress
Plugins are essential components in WordPress that add new features and functionalities to your website without needing to write code. Whether you want to improve your site’s SEO, enhance security, or add custom elements, plugins make it possible to tailor your WordPress site to your needs.
Installing Plugins from the WordPress Plugin Directory
This is the most common and easiest way to install a plugin.
-
Log into WordPress:
- Go to your WordPress dashboard by navigating to
yourdomain.com/wp-adminand logging in with your credentials.
- Go to your WordPress dashboard by navigating to
-
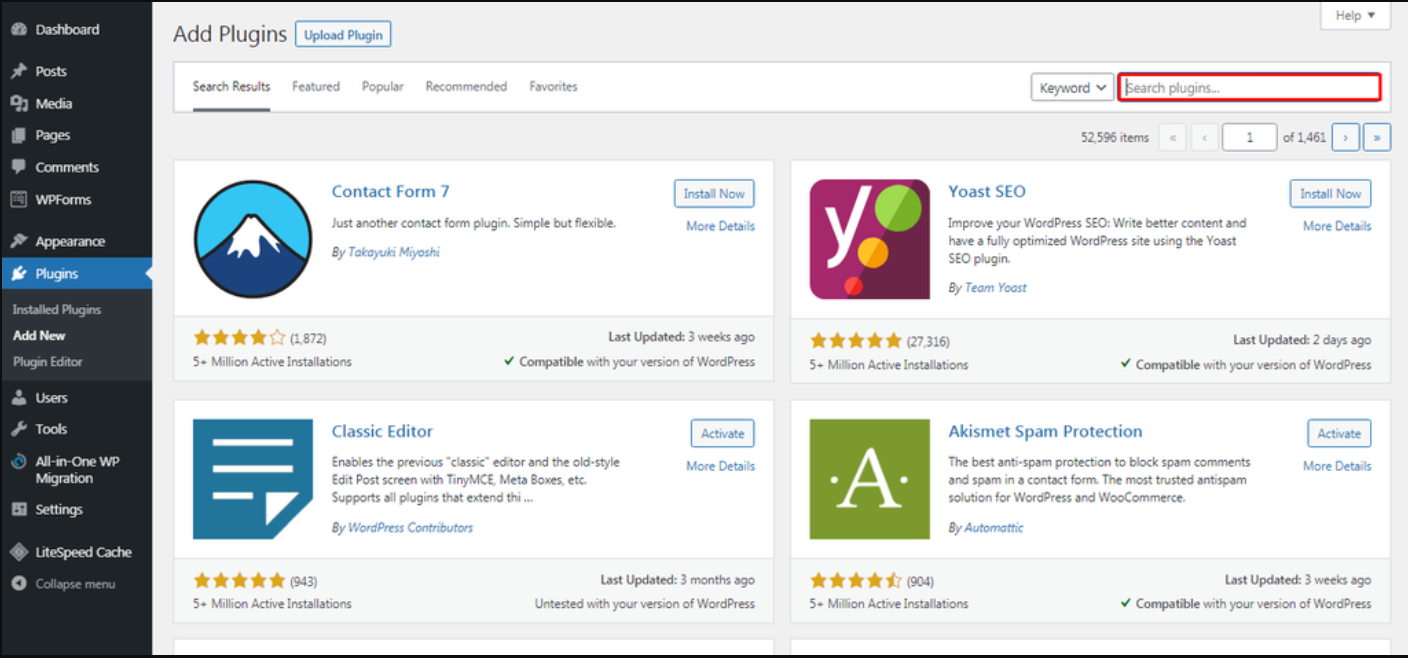
Go to the Plugin Section:
- In the left-hand sidebar of the dashboard, click on Plugins and then click Add New.
-
Search for a Plugin:
- In the search bar located at the top right, type the name of the plugin you want to install or a keyword related to the functionality you need.
-
Install the Plugin:
- Once you find the plugin you want, click the Install Now button next to the plugin’s name.
-
Activate the Plugin:
- After installation is complete, the Install Now button will change to Activate. Click on Activate to start using the plugin on your site.
Uploading a Plugin
This method is useful for installing plugins that are not available in the WordPress Plugin Directory, such as premium plugins.
-
Download the Plugin:
- First, download the plugin
.zipfile from the developer’s website or wherever you purchased it.
- First, download the plugin
-
Go to the Plugin Section:
- Navigate to Plugins > Add New from your WordPress dashboard.
-
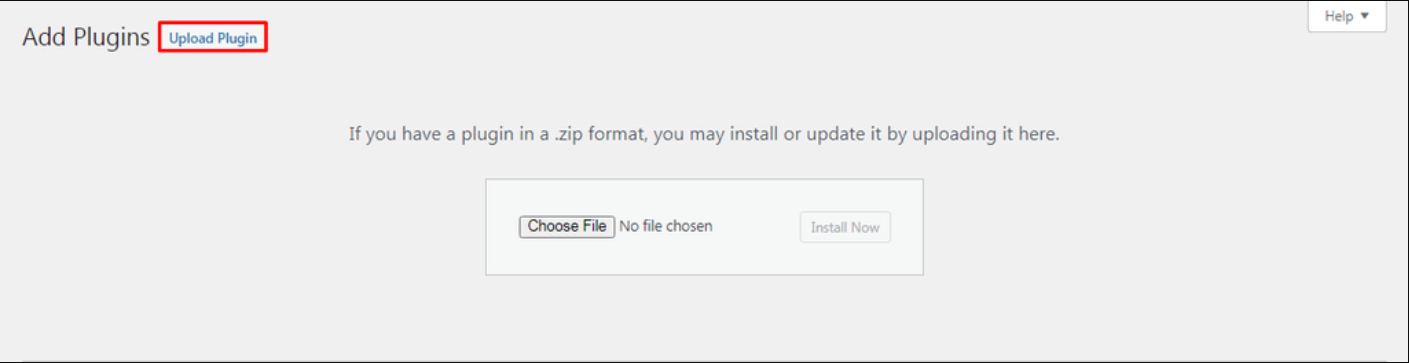
Upload the Plugin:
- Click on the Upload Plugin button at the top of the page.
- Choose the
.zipfile you downloaded, and click Install Now. 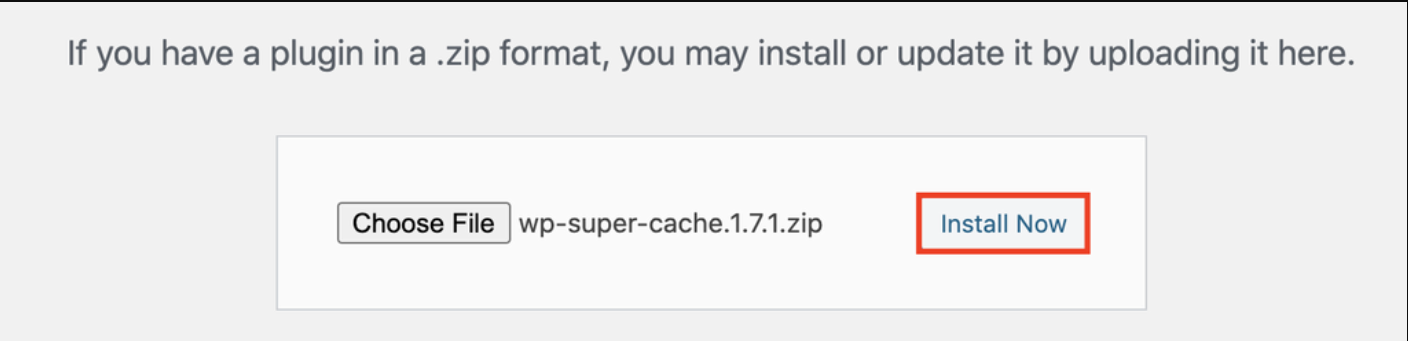
-
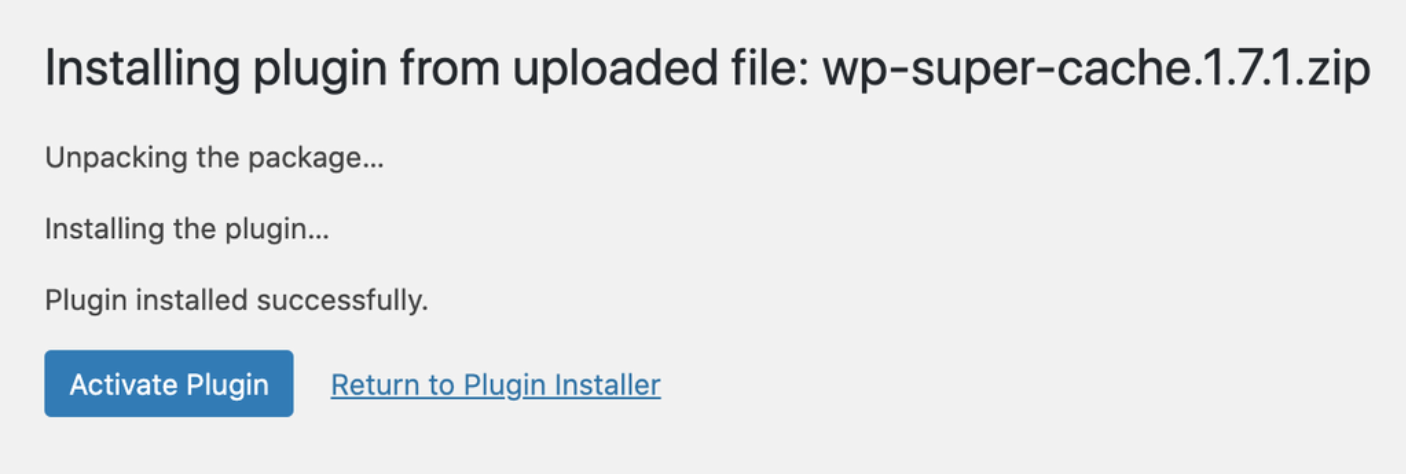
Activate the Plugin:
- After the installation, click Activate Plugin to start using it.
Manually Installing a Plugin via FTP
If the plugin upload through the dashboard fails for some reason, you can manually install a plugin via FTP.
-
Download the Plugin:
- Download the plugin
.zipfile and extract it on your computer.
- Download the plugin
-
Access Your Website via FTP:
- Use an FTP client (such as FileZilla) to connect to your website. You will need your FTP login credentials from your hosting provider.
-
Upload the Plugin Files:
- Navigate to the
wp-content/plugins/directory on your server. - Upload the extracted plugin folder into this directory.
- Navigate to the
-
Activate the Plugin:
- Once the files are uploaded, go to your WordPress dashboard.
- Navigate to Plugins and locate the plugin you just uploaded. Click Activate.


