How to Manage File Permissions in cPanel
File permissions in cPanel control who can read, write, or execute files on your website. Properly managing these permissions is crucial for securing your files and ensuring your website functions correctly. In this tutorial, we'll guide you through the process of checking and changing file permissions in cPanel.
1. Login to cPanel
- Access your cPanel account using your login credentials.
- Once logged in, navigate to the Files section.
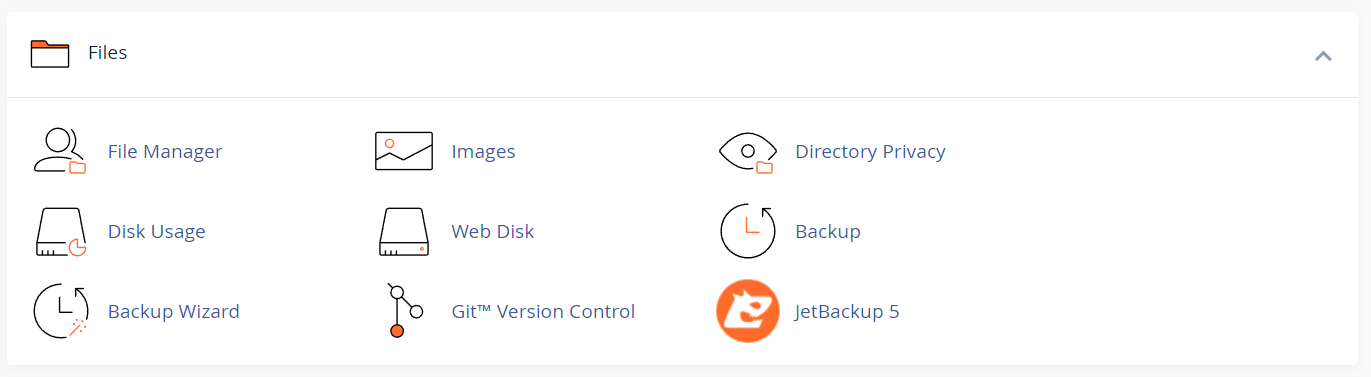
2. Open the File Manager
- In the Files section, click on File Manager. This will take you to your website's file directory.

3. Locate the File or Folder
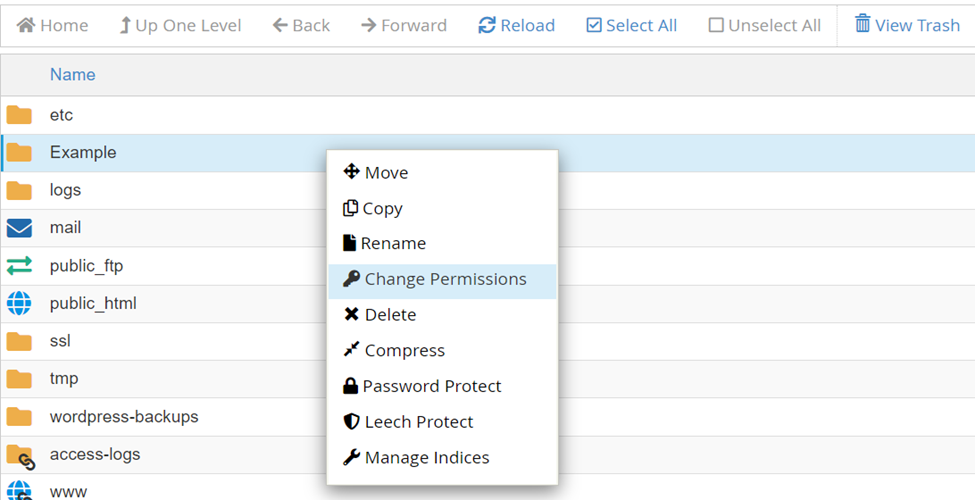
- Navigate to the folder containing the file or folder you want to modify.
- Right-click on the file or folder and select Permissions.
4. Understanding File Permissions
- File permissions are represented in a numerical format, typically three numbers (e.g., 644 or 755). Each number represents permissions for three groups:
- Owner: The user who owns the file.
- Group: Other users in the group of the file owner.
- World: All other users.
5. Modify Permissions
- In the permission box, you can check or uncheck the boxes for Read, Write, and Execute for the Owner, Group, and World.
- Alternatively, you can enter the numeric permission code directly.
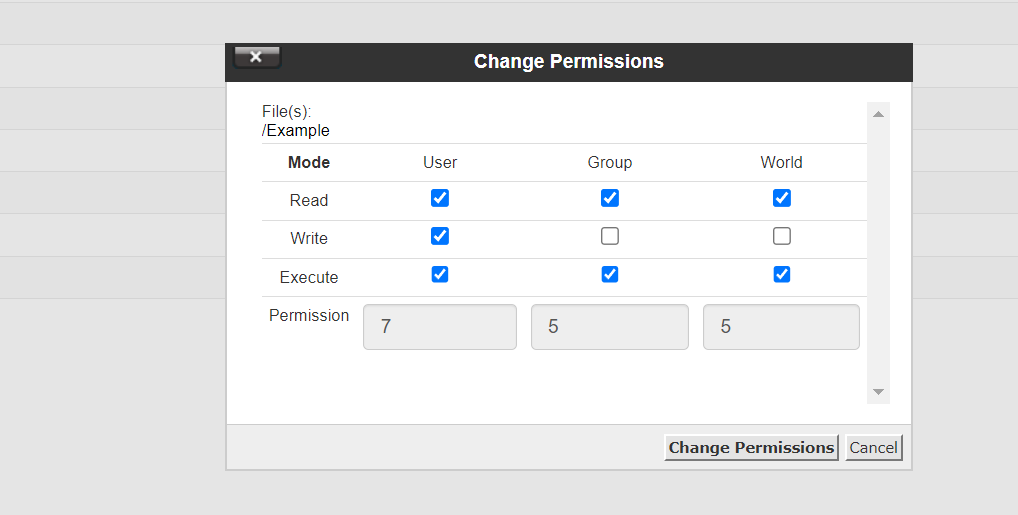
6. Save Changes
- Once you've made the necessary changes, click Change Permissions to apply the new file permissions.
Best Practices for File Permissions
- Files should typically have permissions set to 644, meaning:
- Owner: Read and write.
- Group and World: Read-only.
- Folders should usually have permissions set to 755, meaning:
- Owner: Read, write, and execute.
- Group and World: Read and execute.


