How to create an email account in cPanel
In this day and age, the modest email account has become an almost ubiquitous presence in our lives. If you shop for groceries, you may be asked to provide an email address in order to receive discounts. Your gas station, church, doctor, favorite restaurant, and gym all want your email address so they may contact you with information or advertisements. With everyone carrying a smartphone, emails are virtually instant communications that can be accessed from anywhere your phone has a connection.
Create an Email Account in cPanel
Step 1. Login to cPanel
Step 2. Click the email accounts icon on the email section

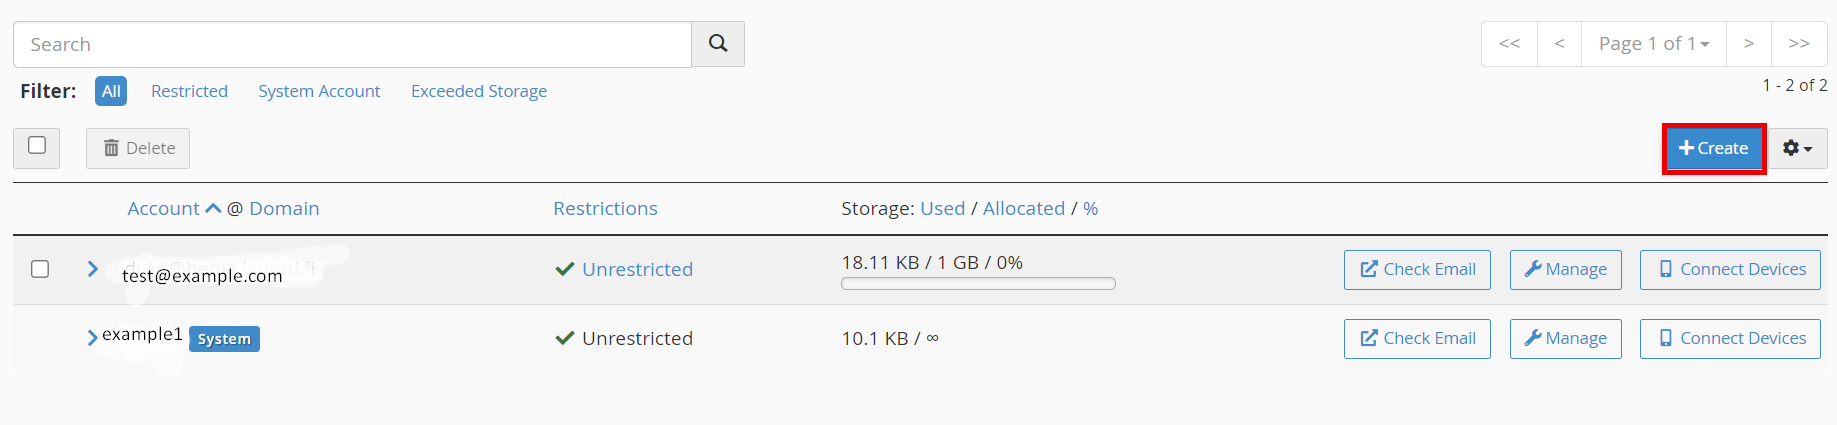
Step 3. You will then be directed to the Email Accounts page. If any accounts exist, they will be listed here. Click the Create button.
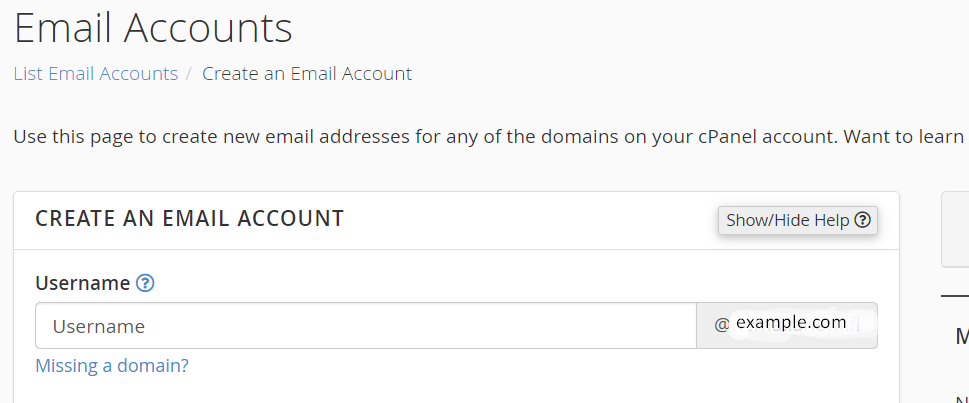
Step 4. Type in the Username that you want to use. The domain name is automatically appended based on the domain that you have selected. Note that you can only use letters, numbers, periods, hyphens, and underscores for the name. The user name can only be up to 64 characters long.
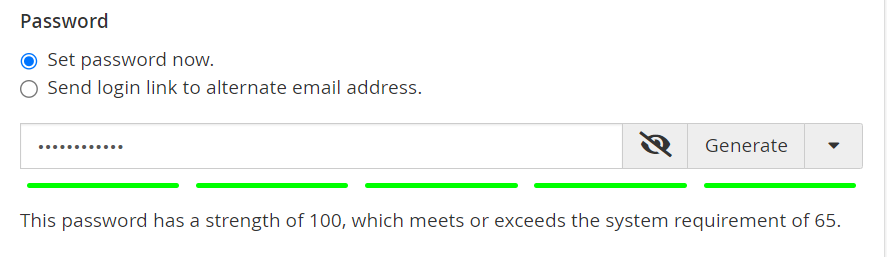
Step 5. The next option is for setting the password for the email account. You can choose to Set password now or Send login link to alternate email address to send an email for them to set their own password. There is also a Generate option that allows you to randomly generate a secure password.
Step 6. The next are optional settings. Click the Edit Settings button to access them.

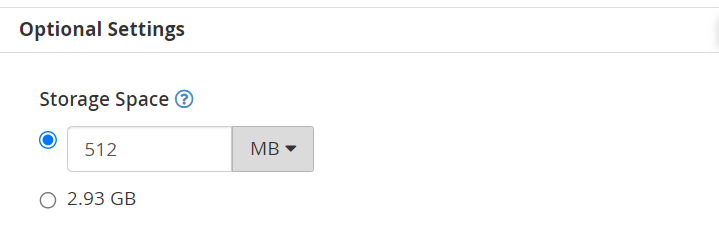
Step 7. Set the Storage Space. By default, the value is set to 512MB. This space is the amount of space that the email account can occupy on the server. You can set this to a particular number or you can click on Unlimited.
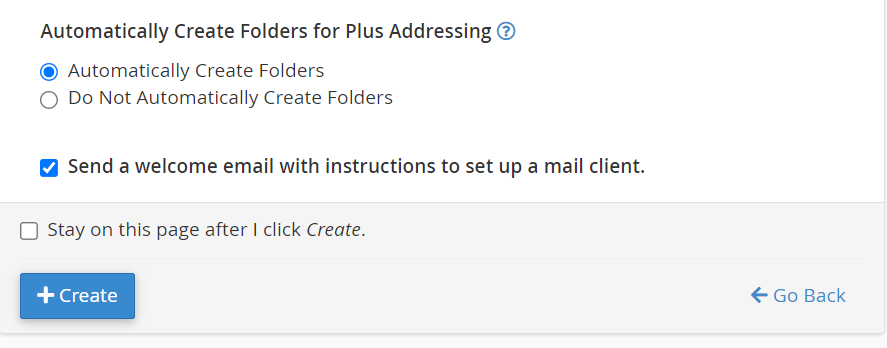
Step 8. After you set the storage space for the email account, you will see an option named Automatically Create Folders for Plus Addressing. This option allows for folders to be created automatically if they are using Plus Addressing. You can also set it to not create folders.

Step 9. You can also opt to send a welcome email that instructs your user on how to setup a mail client. By default, this option is checked. If you don’t want to send the email, then simply uncheck the box.

Step 10. Click on the blue button labeled CREATE in order to create the account. If you wish to stay on the same page after the account is created, then check the box labeled (Stay on this page after I click Create).