How to Back Up Your Website with cPanel
Backing up your website is an essential practice to protect your data from loss due to accidental deletion, server failures, or security breaches. cPanel provides a user-friendly interface to create backups easily. In this guide, you’ll learn how to back up your website using cPanel in just a few simple steps.
Step 1: Log into cPanel
Go to your cPanel login URL ( www.yourdomain.com/cpanel).
Enter your username and password, then click Log in.
Step 2: Access the Backup Wizard
- In the cPanel dashboard, scroll down to the Files section.
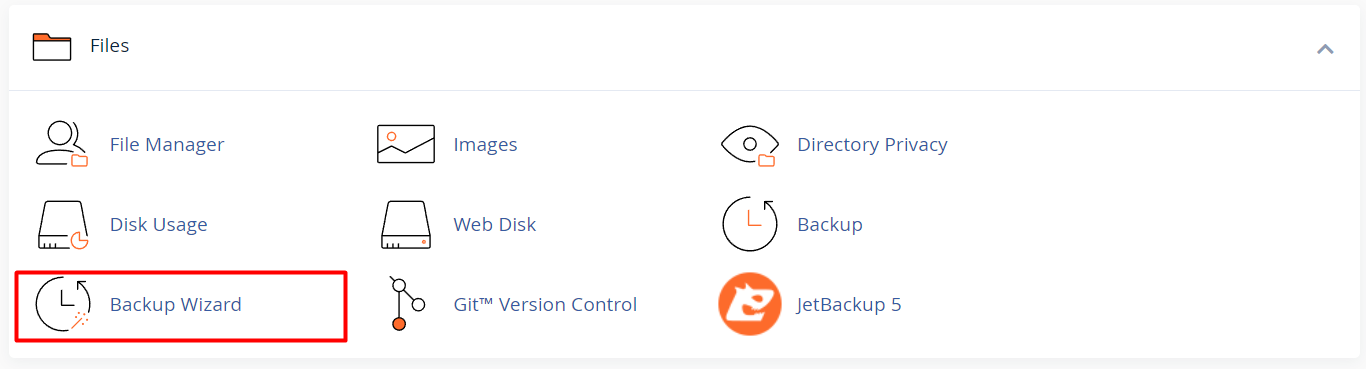
- Click on Backup Wizard.
Step 3: Choose Backup Type
- You’ll see options for Backup and Restore. Click on Backup.
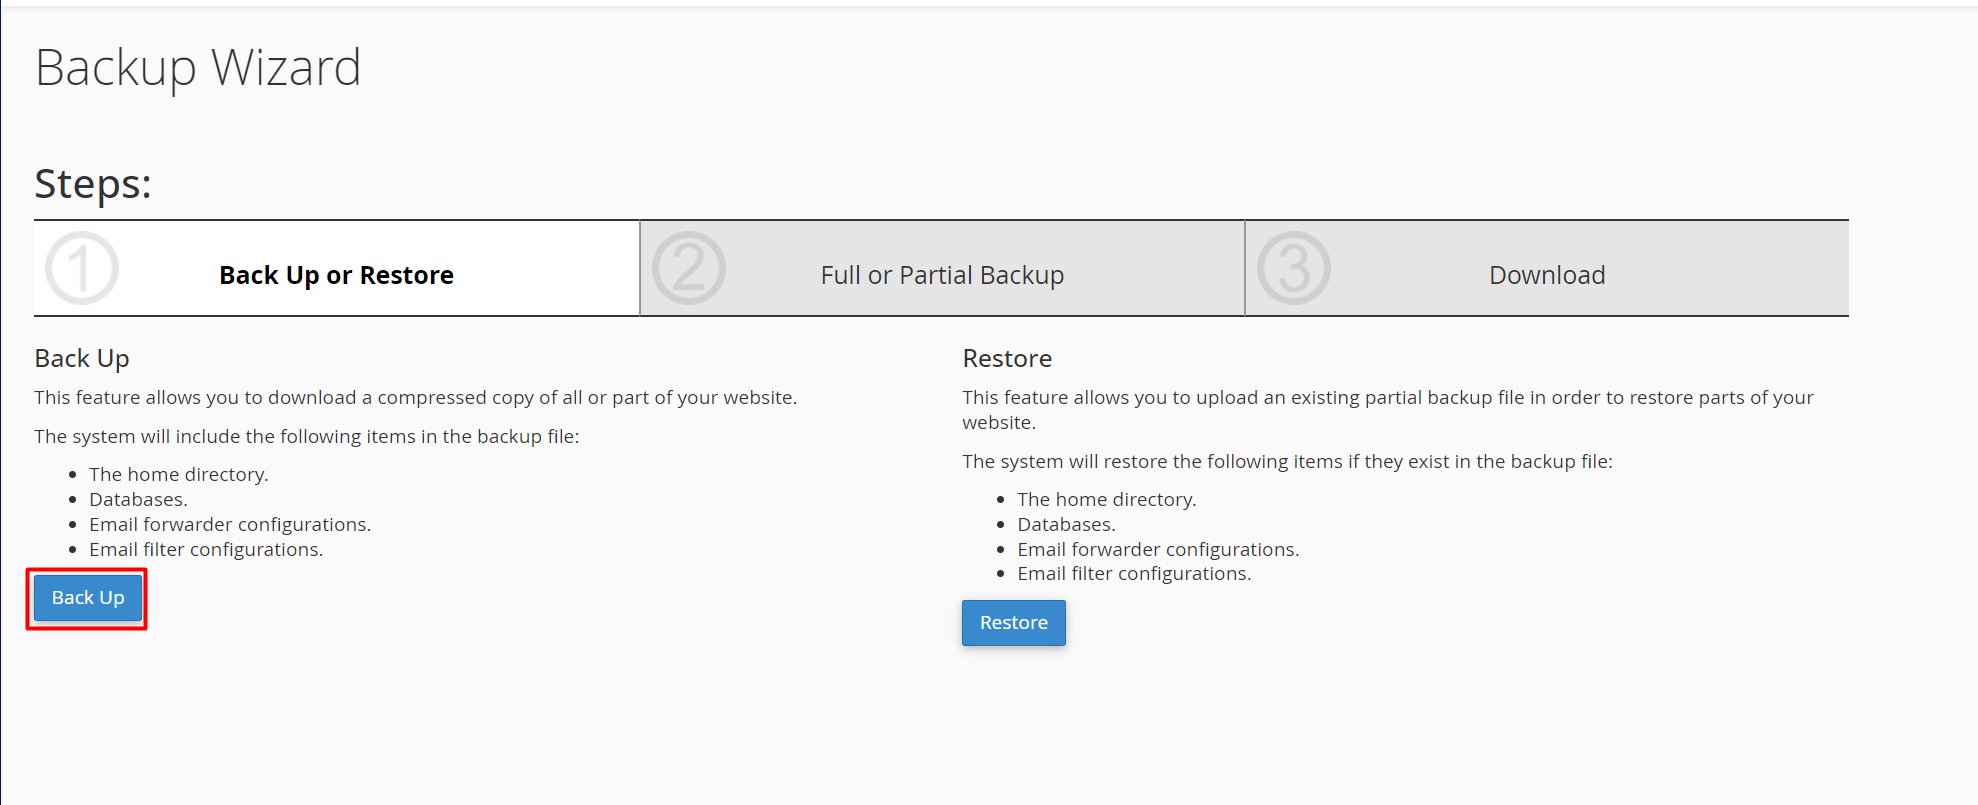
- Choose whether to create a Full Backup or a Partial Backup:
- Full Backup: Includes all files, databases, email accounts, and settings.
- Partial Backup: Allows you to back up specific files (e.g., Home Directory, MySQL Databases, Email Forwarders).
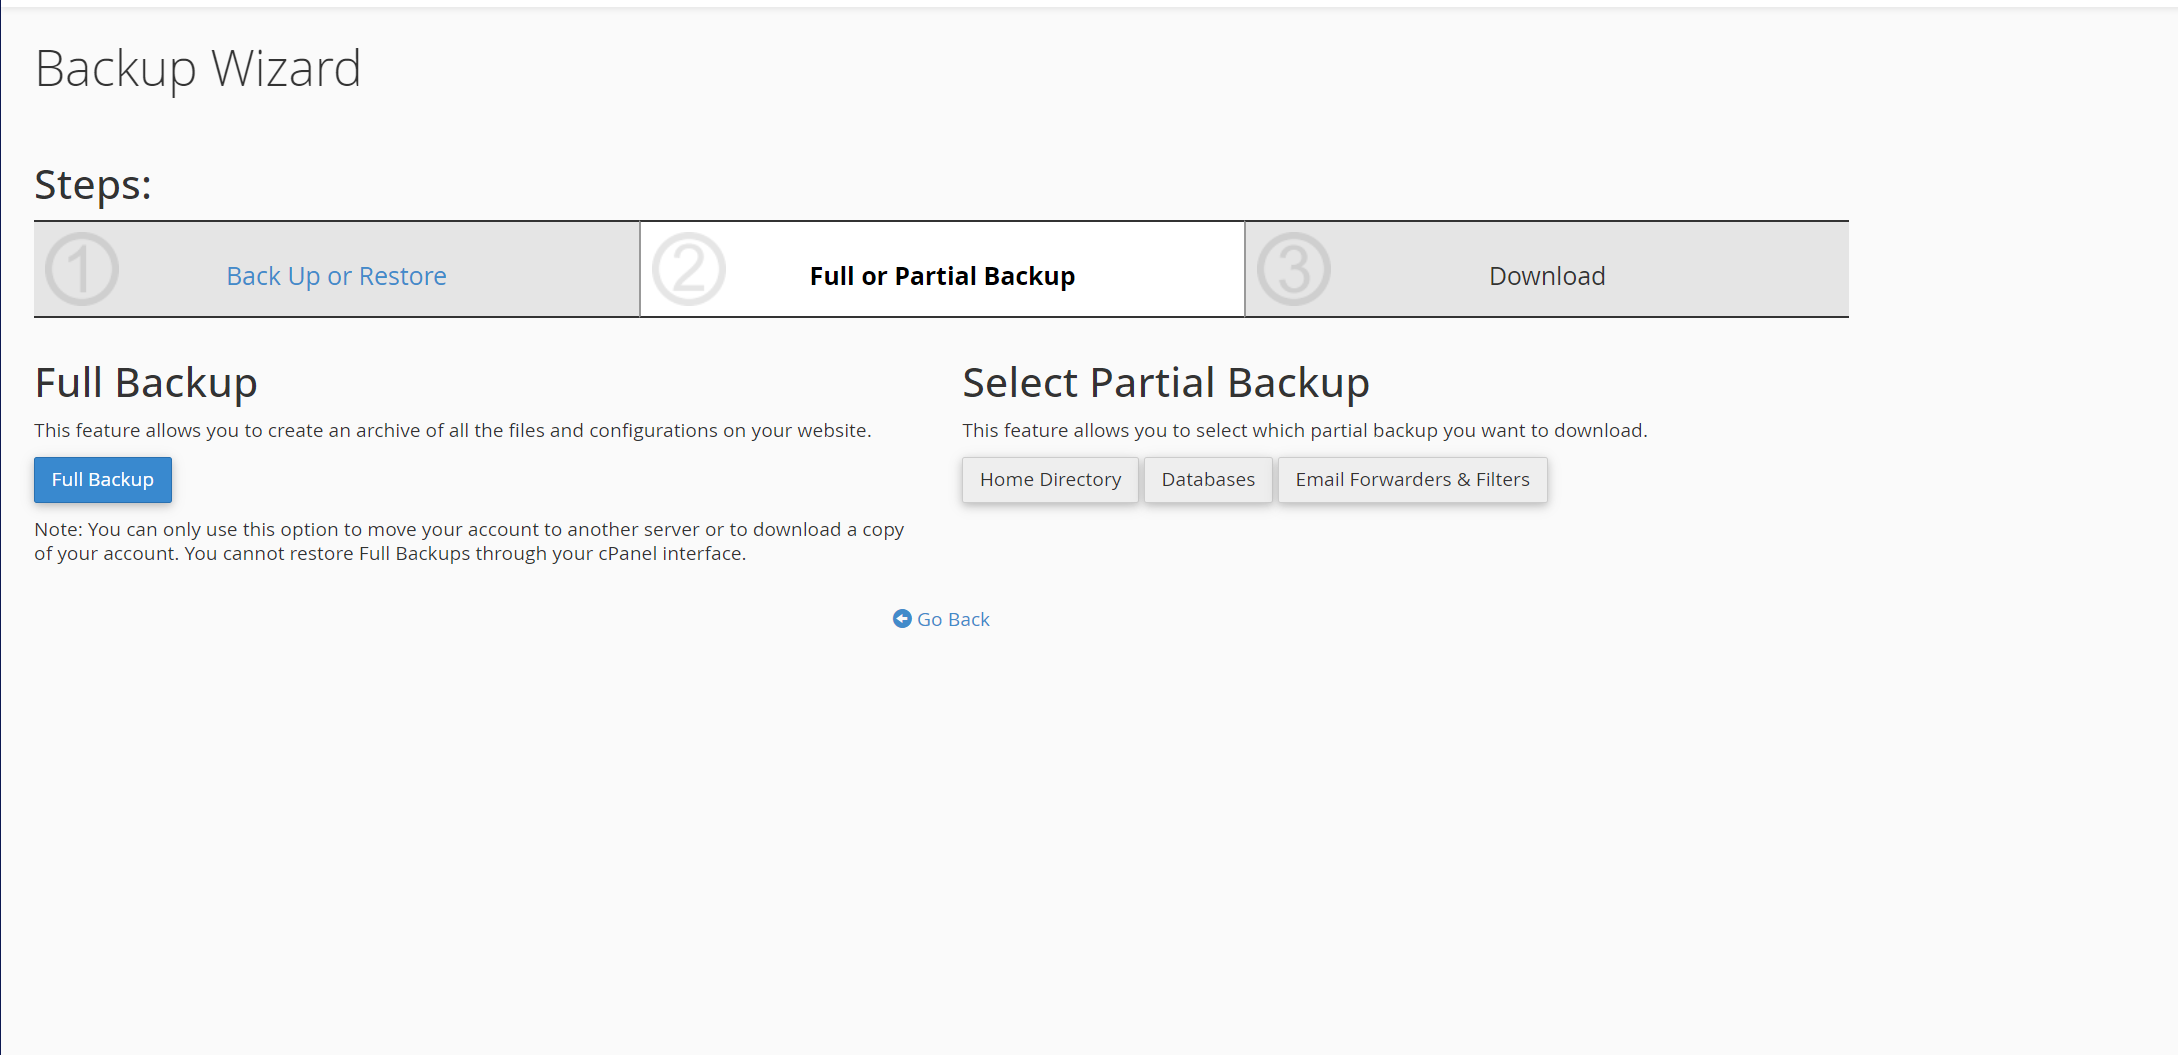
Step 4: Create a Full Backup
- If you selected Full Backup, click on Generate Backup.
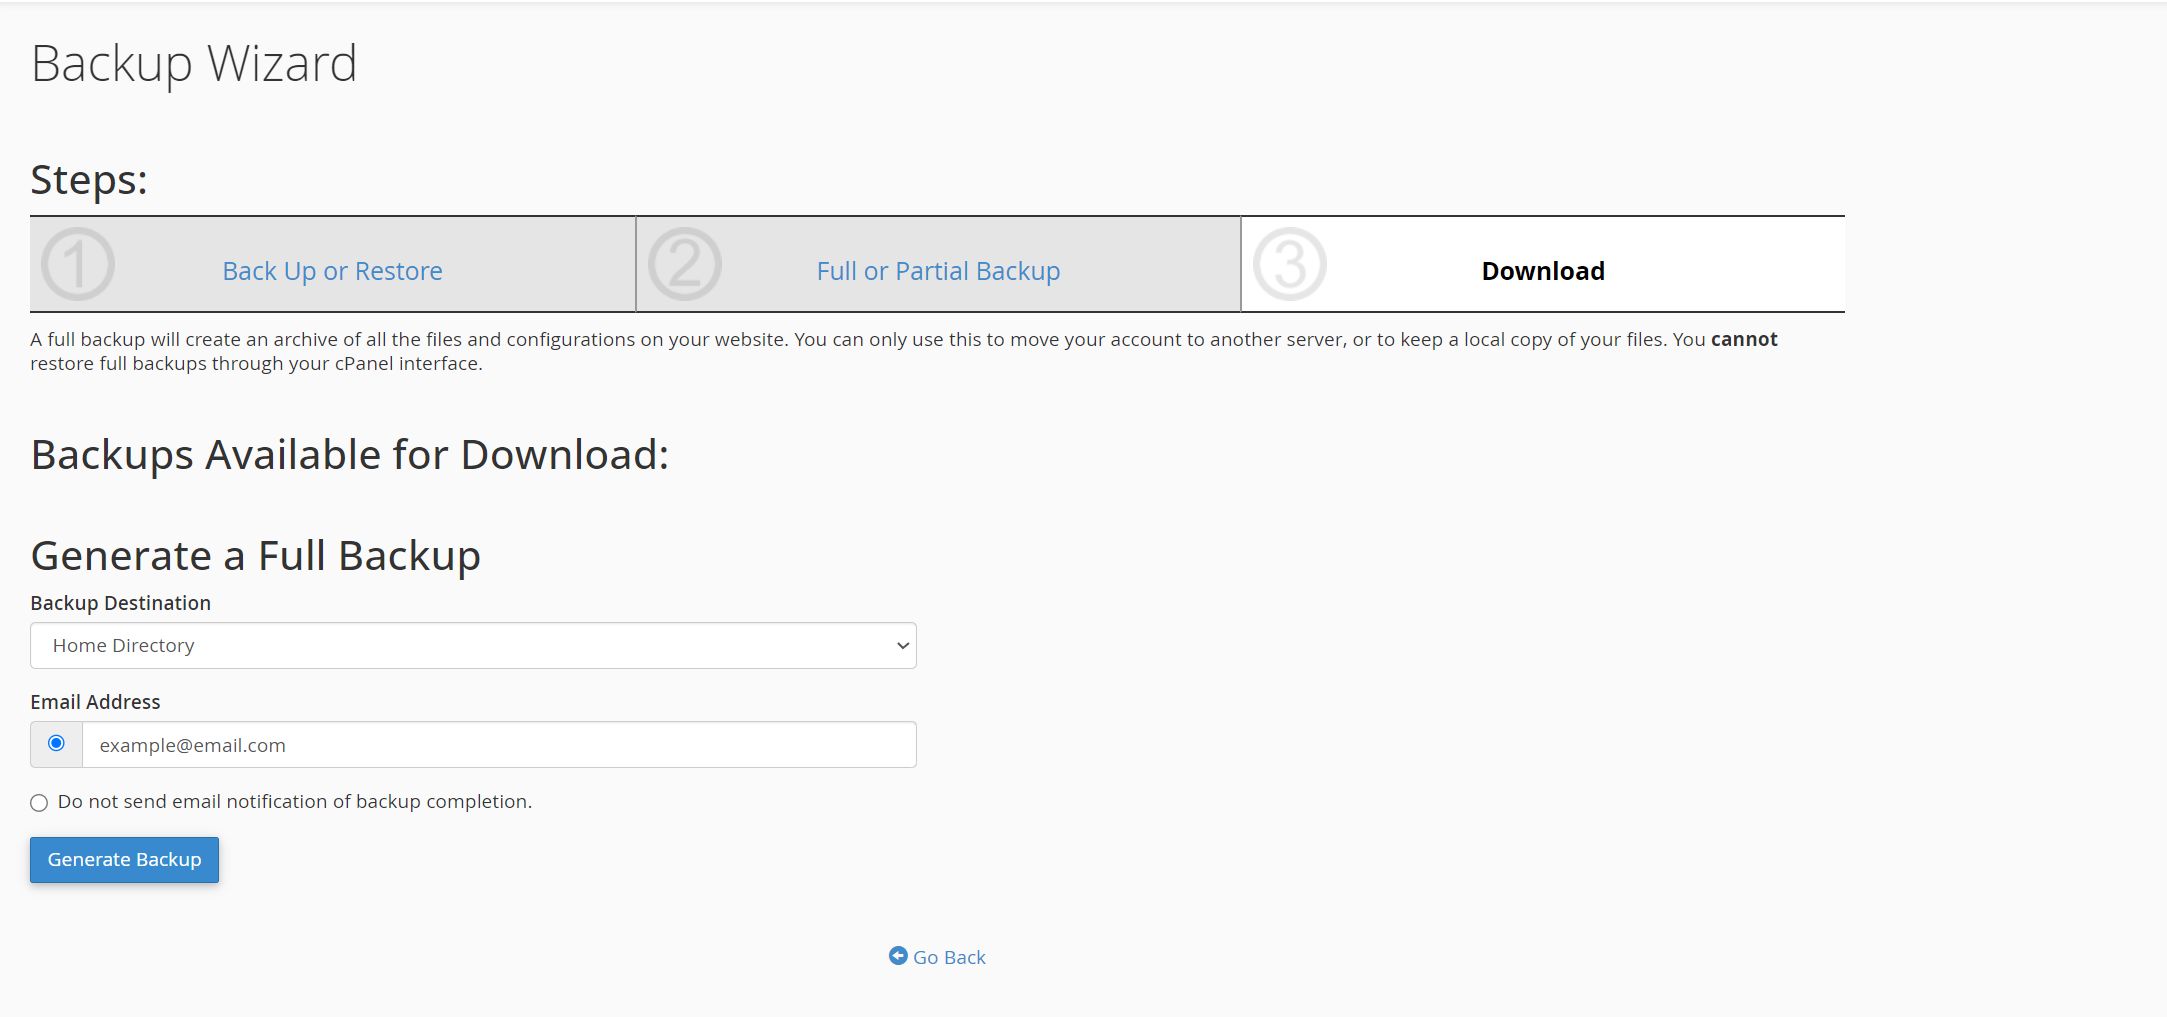
- Choose the backup destination:
- Home Directory: Recommended for most users.
- Optionally, you can enter your email address to receive a notification when the backup is complete.
- Click Generate Backup to start the process.
Step 5: Download Your Backup
- Once the backup is complete, you’ll find a link to download the backup file.
- Click the link to download the backup to your local computer.
Step 6: Verify Your Backup
- Check the downloaded file to ensure it contains the expected data.
- Keep your backup in a safe location, such as an external drive or cloud storage.


