Managing Web Disk Accounts in cPanel
Web Disk accounts allow you to manage and organize your website’s files with ease using a drag-and-drop interface. You can connect directly to your server’s files from your local computer, similar to how you access files on your computer's hard drive.
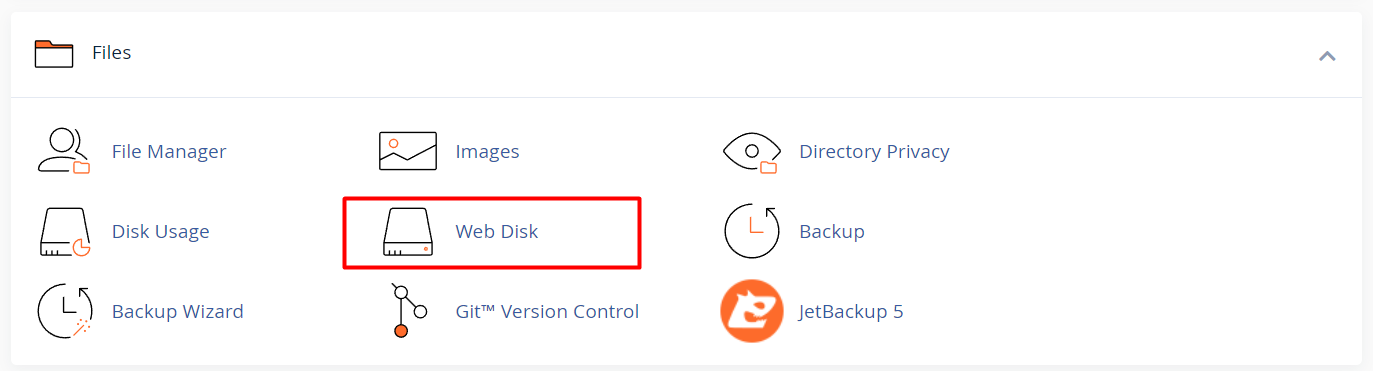
1. Accessing Web Disk in cPanel
- Login to cPanel
- In the Files section, click on Web Disk.
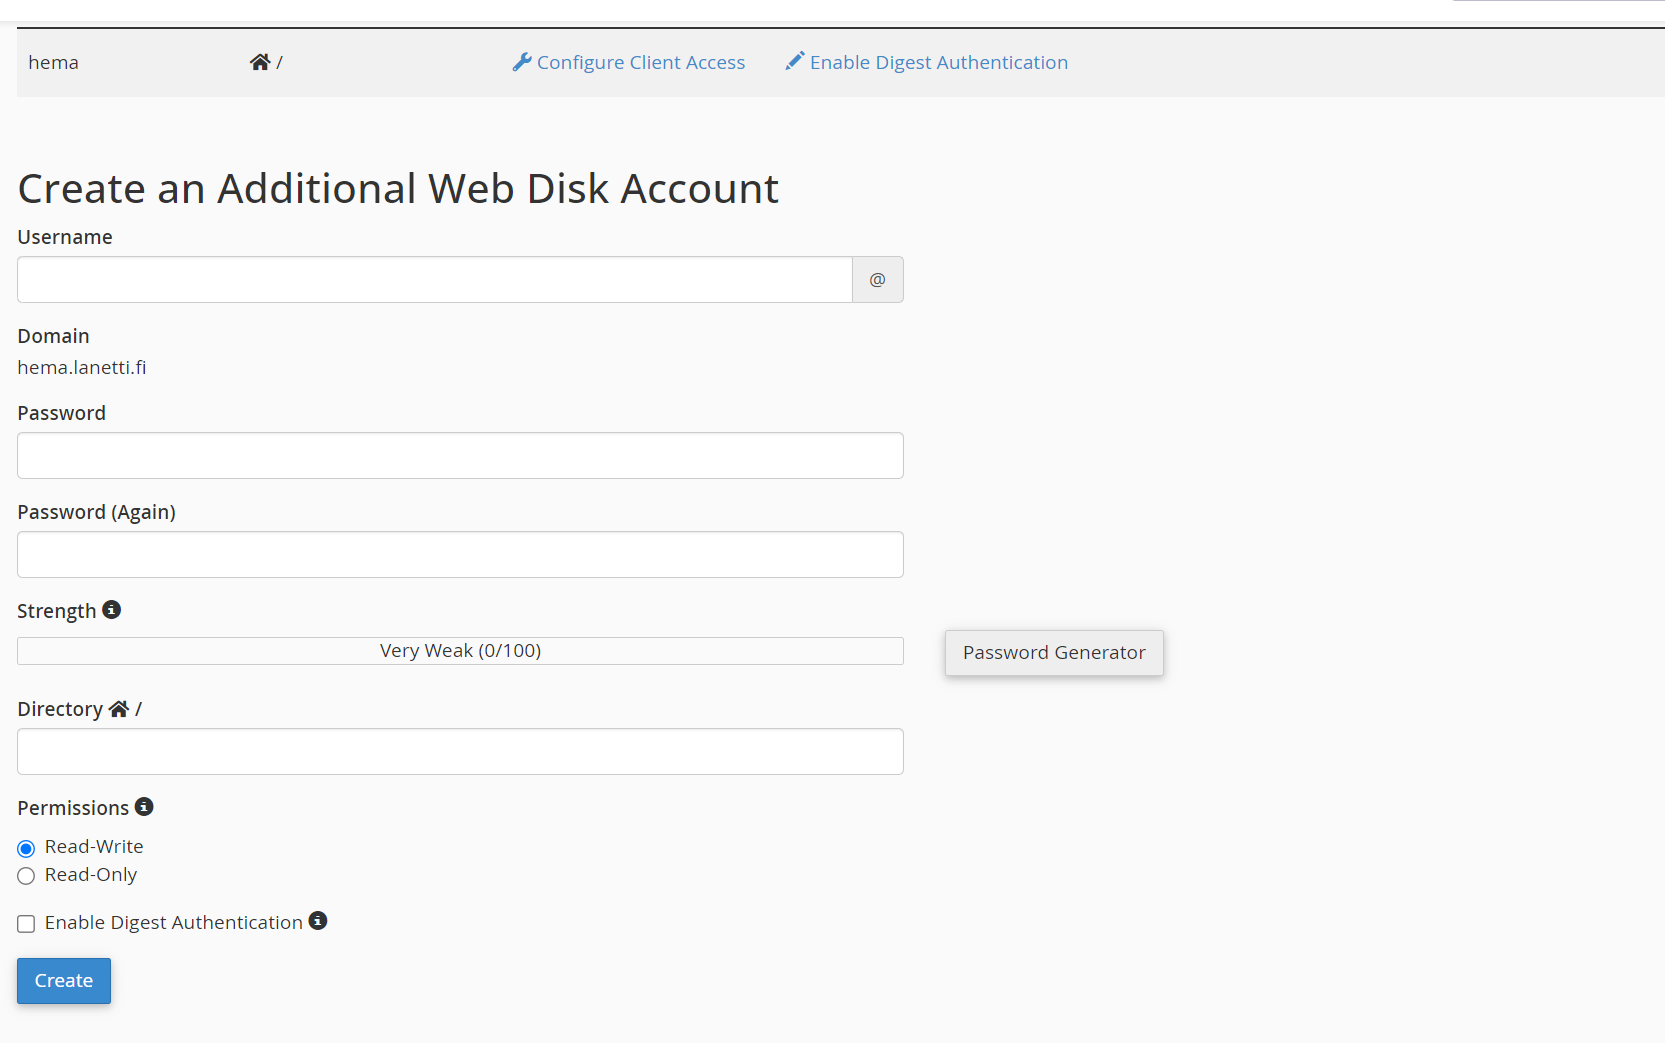
2. Creating a Web Disk Account
- Under the Create an Additional Web Disk Account section, fill in the following details:
- Username: Enter the desired username for the new account.
- Domain: If you have multiple domains, select the appropriate domain from the drop-down list.
- Directory: The default directory will be set to the user's home directory. You can change this if you want to give access to a specific folder.
- Permissions:
- Read-Write: The user can view, upload, and modify files.
- Read-Only: The user can only view files and cannot make any changes.
- Password: Enter and confirm a strong password.
- Click Create.
3. Configuring Web Disk on Your Device
Once the account is created, you can configure it on your local device:
- Windows, macOS, Linux: cPanel provides downloadable scripts for easy Web Disk setup on these operating systems.
- Under Main Web Disk Account, click on Configure Client Access and choose your operating system. Follow the on-screen instructions to connect your Web Disk account.
4. Managing Existing Web Disk Accounts
To manage or edit an existing Web Disk account:
- In the Web Disk interface, scroll down to Web Disk Accounts.
- Next to the account you want to manage, you will find the following options:
- Password: Change the account’s password.
- Permissions: Modify the access permissions (read-only or read-write).
- Delete: Remove the Web Disk account if no longer needed.
5. Troubleshooting Common Issues
If you're facing issues connecting your Web Disk account:
- Ensure that the username and password are correct.
- Check firewall settings on your local machine.
- For secure connections, ensure that your device supports the SSL/TLS protocols.


