Configuring Custom Error Pages Using cPanel
Custom error pages improve user experience by providing friendly, branded messages when a website experiences issues, such as a 404 error. Instead of displaying a generic error page, users can be redirected to a personalized page that maintains the website’s design and message. This guide will walk you through configuring custom error pages using cPanel.
Configure Custom Error Pages in cPanel
-
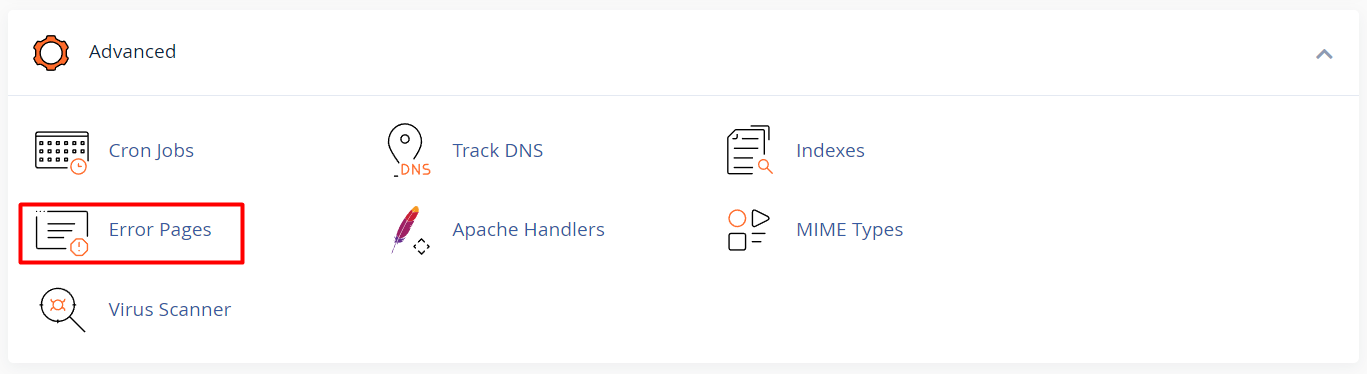
Navigate to the Error Pages Section
- Scroll down to the Advanced section.
- Click on Error Pages.
-
Select the Domain
- If you host multiple domains, you will need to select the specific domain you want to configure error pages for from the drop-down menu.
-
Choose the Error Code to Customize
- cPanel allows customization of several error codes. Common ones include:
- 400 (Bad Request)
- 401 (Authorization Required)
- 403 (Forbidden)
- 404 (Page Not Found)
- 500 (Internal Server Error)
- Click on the error code you wish to customize.
- cPanel allows customization of several error codes. Common ones include:
-
Edit the Custom Error Page
-
After selecting the error code, you’ll be taken to a text editor.
-
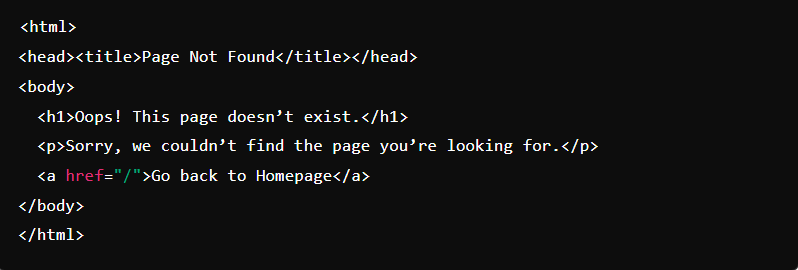
You can create a custom error page by using basic HTML. For example, you can include text, images, and links that fit your website’s branding.
Example HTML code for a custom 404 error page:
-
-
Save the Error Page
- Once you are satisfied with your custom error page, click the Save button.
-
Test the Custom Error Page
- After saving, it’s a good idea to test the custom error page by simulating the error on your website. For instance, to test a 404 error, visit a non-existent page on your website and verify that your custom 404 page is displayed.


