Managing Website Security Settings Using cPanel
Website security is a crucial aspect of managing any online presence. A well-secured website ensures that sensitive information remains safe, protects users from malware, and keeps hackers at bay. cPanel provides a robust set of tools to help website administrators configure and enhance their site's security. Whether you're dealing with SSL certificates, firewalls, or password protection, cPanel simplifies the process, making it accessible even to users with minimal technical knowledge.
This guide will walk you through the key security features in cPanel, helping you protect your website effectively and keep it safe from online threats.
Steps to Manage Security Settings in cPanel
1. Enable SSL/TLS (Secure Sockets Layer)
SSL certificates encrypt the data exchanged between your website and its visitors, ensuring privacy and protection from eavesdropping. Here's how to enable SSL in cPanel:
Step 1: Login to cPanel
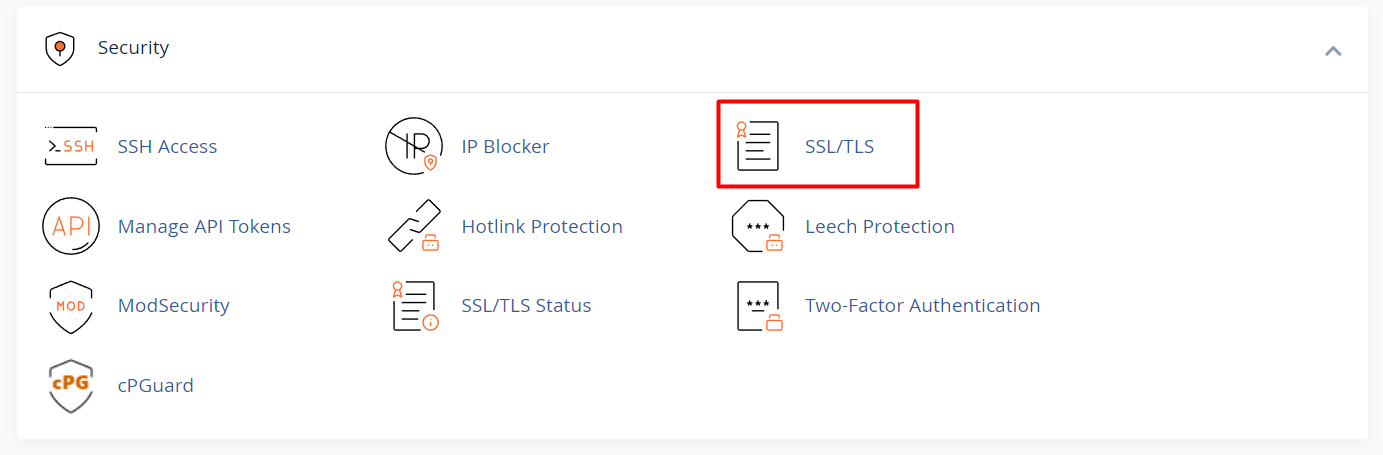
Step 2: In the Security section, click on SSL/TLS.
Step 3: You can either use a free certificate (like Let's Encrypt) or install a purchased SSL certificate.
Step 4: Follow the instructions to generate or install the SSL certificate.
Step 5: Once installed, ensure your website is accessible via https:// rather than http://.
2. Password Protect Directories
If you want to restrict access to certain parts of your website, password protection is an excellent option.
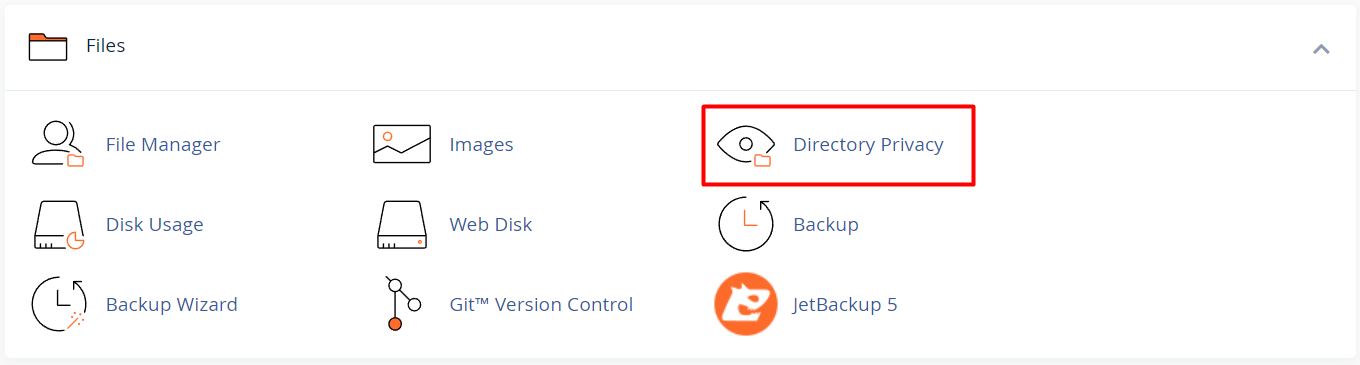
- Step 1: In cPanel, go to the Files section and click on Directory Privacy.
- Step 2: Navigate to the directory you want to protect.
- Step 3: Check the box that says "Password protect this directory."
- Step 4: Set a username and password.
- Step 5: Save the settings, and the directory will now require login credentials for access.
3. Use IP Blocker
To block certain IP addresses from accessing your website, follow these steps:
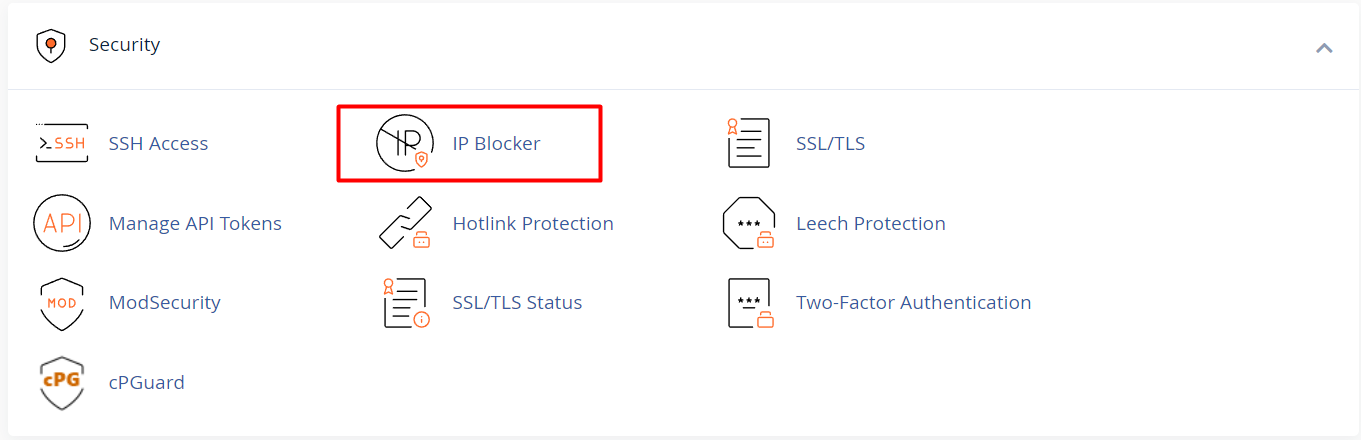
Step 1: From the cPanel dashboard, go to Security > IP Blocker.
Step 2: Enter the IP address or range of IP addresses you wish to block.
Step 3: Click Add to block the specified IP addresses.
4. Enable Hotlink Protection
Hotlinking is when other websites directly link to files (like images) from your website, which can waste your bandwidth. You can prevent this through cPanel's hotlink protection feature.
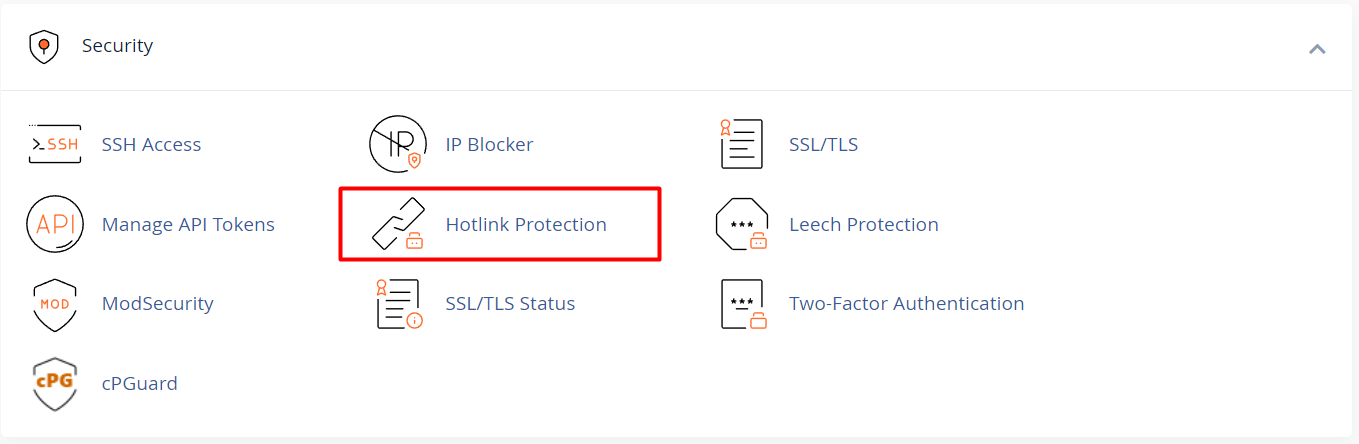
Step 1: In cPanel, navigate to Security > Hotlink Protection.
Step 2: Click Enable to turn on hotlink protection.
Step 3: You can also configure which file types are protected and specify websites allowed to hotlink your resources.
5. Leverage ModSecurity
ModSecurity is an open-source web application firewall (WAF) that helps protect your site from a variety of attacks.
Step 1: In the cPanel dashboard, go to Security > ModSecurity.
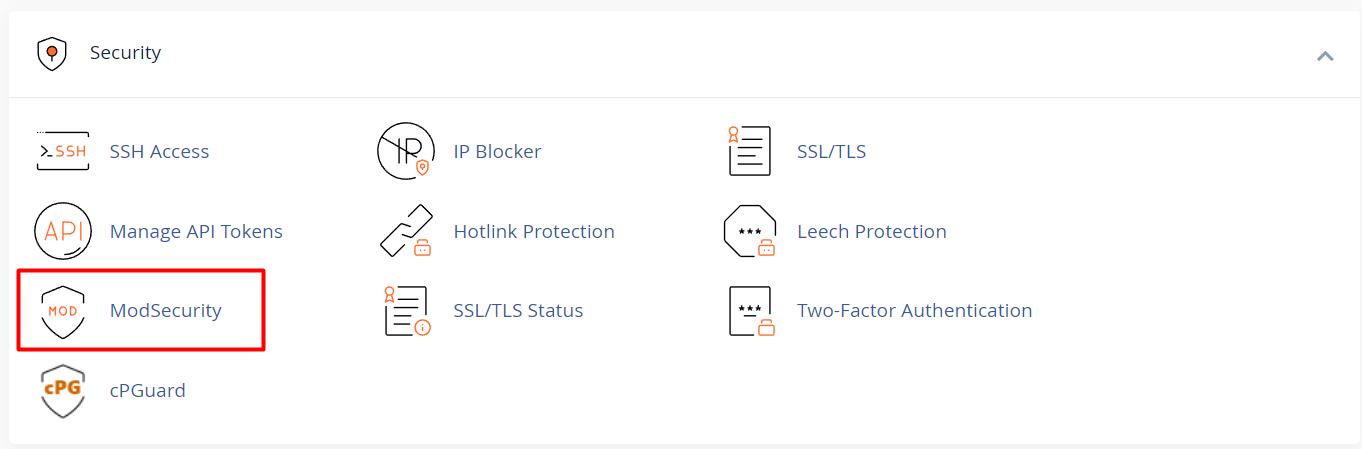
Step 2: Ensure that ModSecurity is turned on for all domains by clicking the Enable button.
Step 3: ModSecurity will now block suspicious activity and protect your site from common threats like SQL injections and cross-site scripting (XSS).
6. Use Two-Factor Authentication (2FA)
Two-factor authentication (2FA) adds an extra layer of security by requiring a second form of verification in addition to your password.
Step 1: In cPanel, navigate to Security > Two-Factor Authentication.
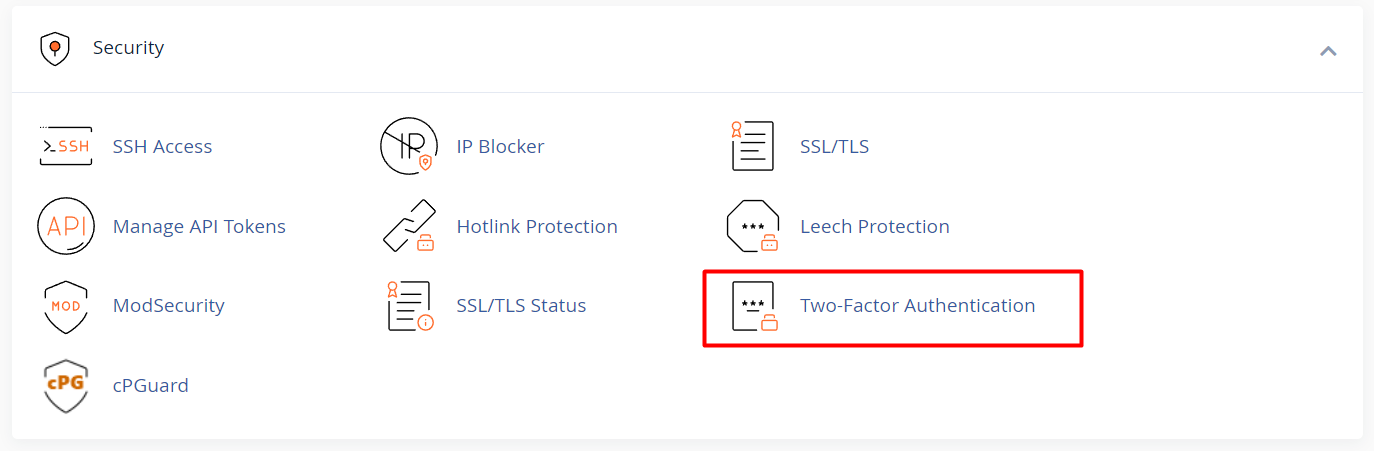
Step 2: Click Set Up Two-Factor Authentication.
Step 3: Scan the provided QR code with an authenticator app (like Google Authenticator).
Step 4: Enter the verification code from the app to complete the setup.
7. Enable Brute Force Protection via cPGuard
cPHulk helps protect your website by preventing brute force attacks, where hackers try to guess login credentials by making repeated attempts.
- Step 1: From the cPanel dashboard, click on cPGuard under the Security section.
- Step 2: Turn on cPGuard .
- Step 3: Configure your settings for blocking specific IP addresses or accounts after a certain number of failed login attempts.


