How do I manage spam filters for emails in cPanel?
Spam emails can be a major nuisance, filling up your inbox with unwanted messages and even posing security risks through phishing attacks or malware. To help combat this, cPanel provides robust spam filtering tools that allow you to manage and customize your email spam protection with ease.
By following these steps, you’ll be able to tailor the spam filters to suit your specific needs, ensuring that important emails always make it through while unwanted ones are efficiently filtered out.
Managing Spam Filters in cPanel
Step 1: Login to cPanel
Step 2: Navigate to Spam Filters
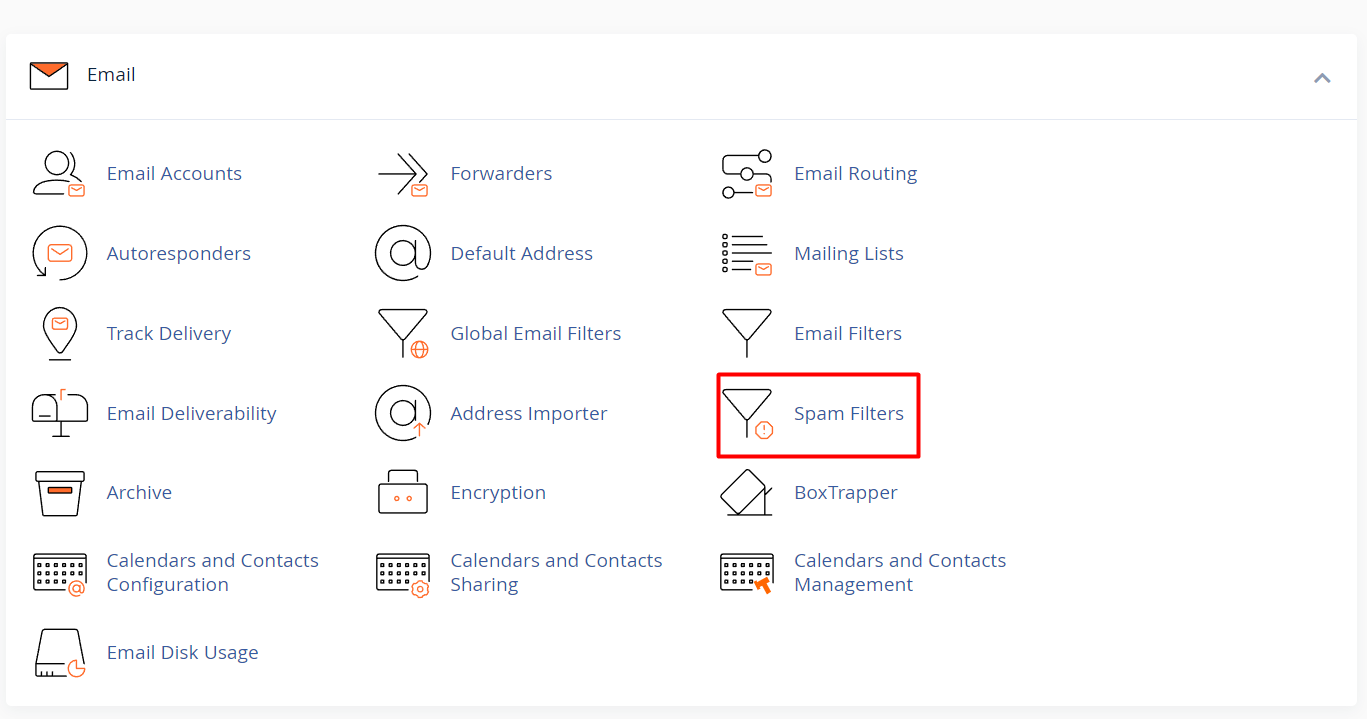
- Once inside cPanel, You will see the Email section.
- Click on the Spam Filters icon.
Step 3: Enable/Disable Spam Filters
- On the Spam Filters page, you’ll see an option called Process New Emails and Mark Them as Spam.
- If the switch is off, click on it to enable spam filtering for your emails.
- If you want to disable spam filters, just click again to turn it off.
Step 4: Adjust Spam Threshold Score
- In the Spam Filters section, find the option called Spam Threshold Score.
This score controls how aggressive the filter will be. The default score is usually 5.- Lower numbers are more strict (filtering more emails as spam).
- Higher numbers are less strict (allowing more emails to pass).
- Adjust the score based on your preference by clicking Configure Spam Threshold Score and selecting your desired value.

Step 5: Auto-Delete Spam (Optional)
- If you want to automatically delete emails marked as spam, turn on the Automatically Delete New Spam option.
- This is a stricter measure and will immediately delete all emails that meet the spam criteria without sending them to your inbox or junk folder.
Step 6: Review & Whitelist/Blacklist Senders
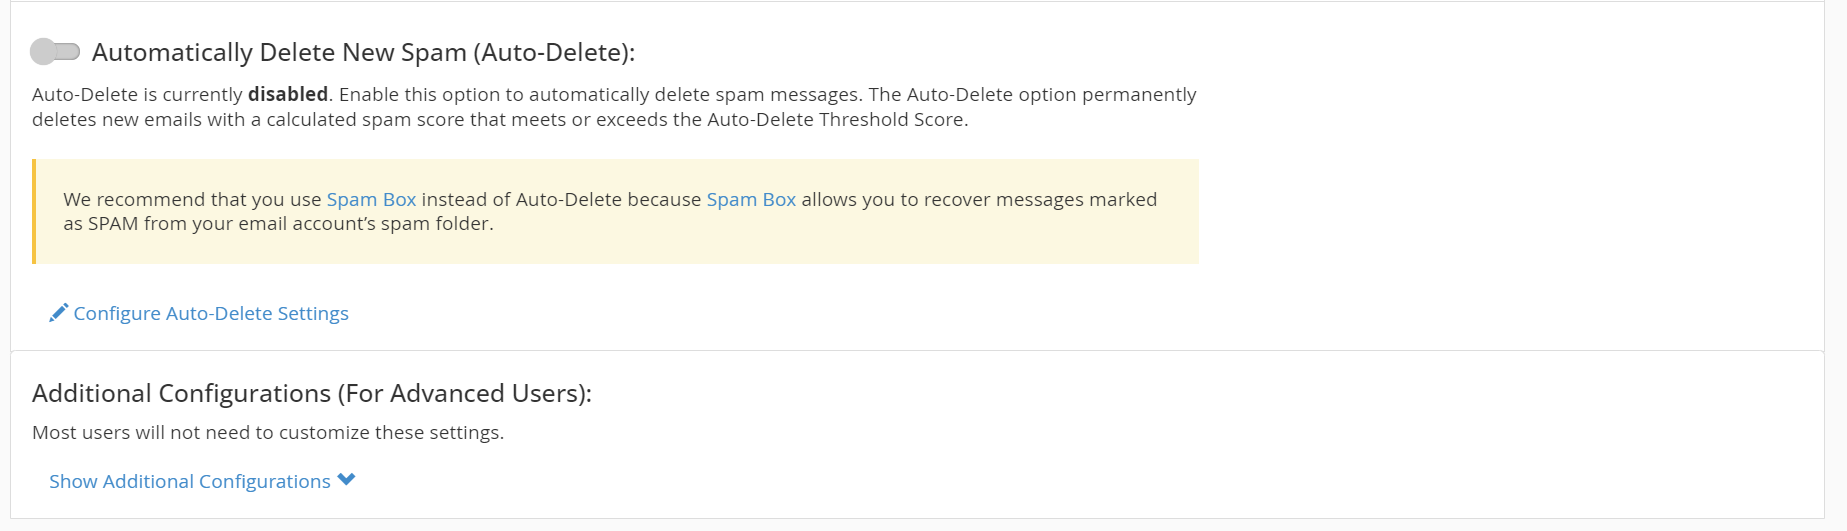
- Scroll down to find Additional Configurations (For Advanced Users).
- Here, you can Whitelist or Blacklist specific email addresses or domains.
- Whitelist ensures that emails from specific senders always bypass the spam filter.
- Blacklist blocks all emails from specified senders or domains.
- To add a sender to the whitelist or blacklist, click on the respective option and enter the email address or domain, then click Add.
Step 7: Review Spam Box
- If you don’t enable auto-delete, spam emails are stored in a folder called Spam Box.
- You can view this folder by accessing your email through webmail or your email client (such as Outlook or Thunderbird).
- Make sure to periodically review this folder to check if any legitimate emails were mistakenly marked as spam.


